Key Takeaways
- Gather Essential Tools: Equip yourself with the right tools like socket sets, wrenches, pliers, and safety gear before starting the water pump removal process.
- Follow a Step-by-Step Guide: Adhere to organized steps including vehicle preparation, belt removal, and disconnection of the water pump to ensure a smooth procedure.
- Troubleshoot Common Issues: Be prepared for challenges such as stuck bolts and potential leaks. Use techniques like penetrating oil and thorough cleaning to address these issues effectively.
- Perform Post-Removal Maintenance: After removing the water pump, inspect related components like thermostats, hoses, and radiators for damage, and clean the area to ensure optimal performance for the new pump.
- Safety First: Prioritize safety by wearing protective gear like gloves, safety glasses, and a fume mask to guard against potential hazards during the removal process.
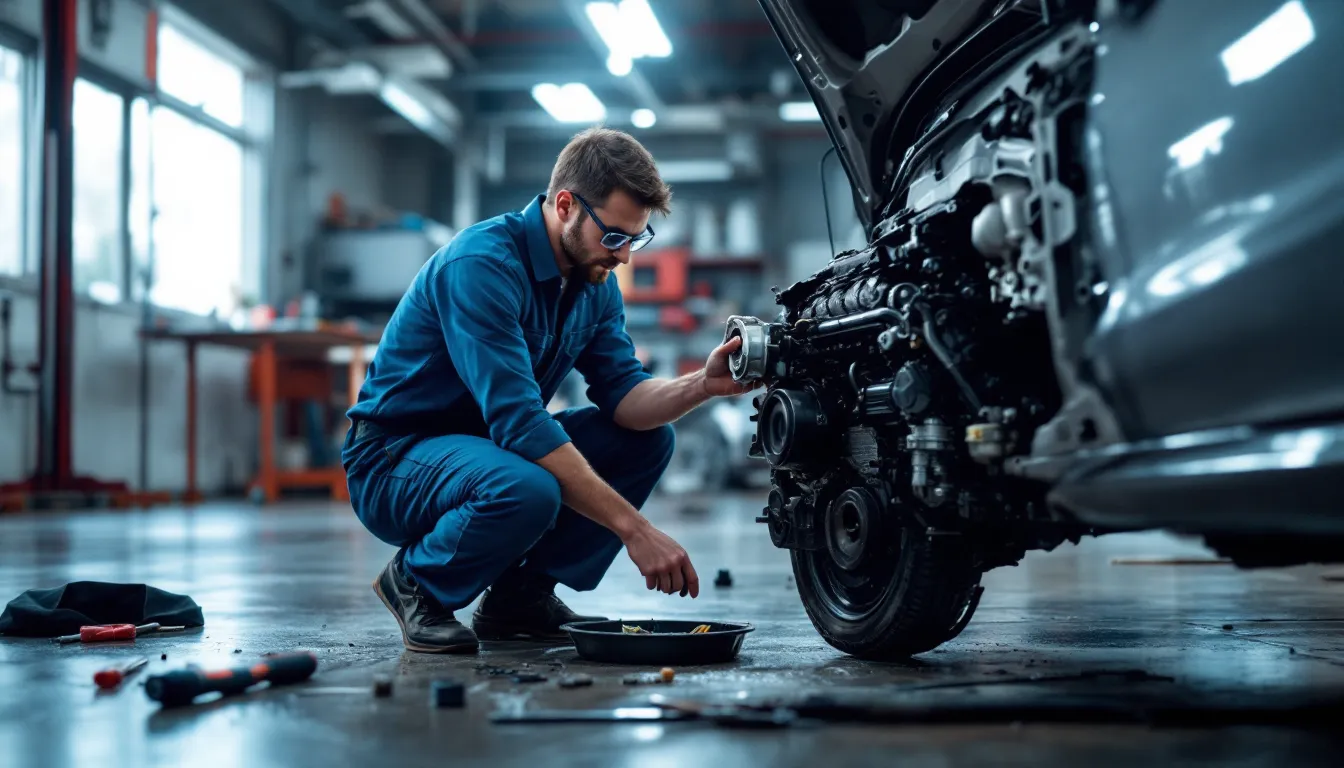
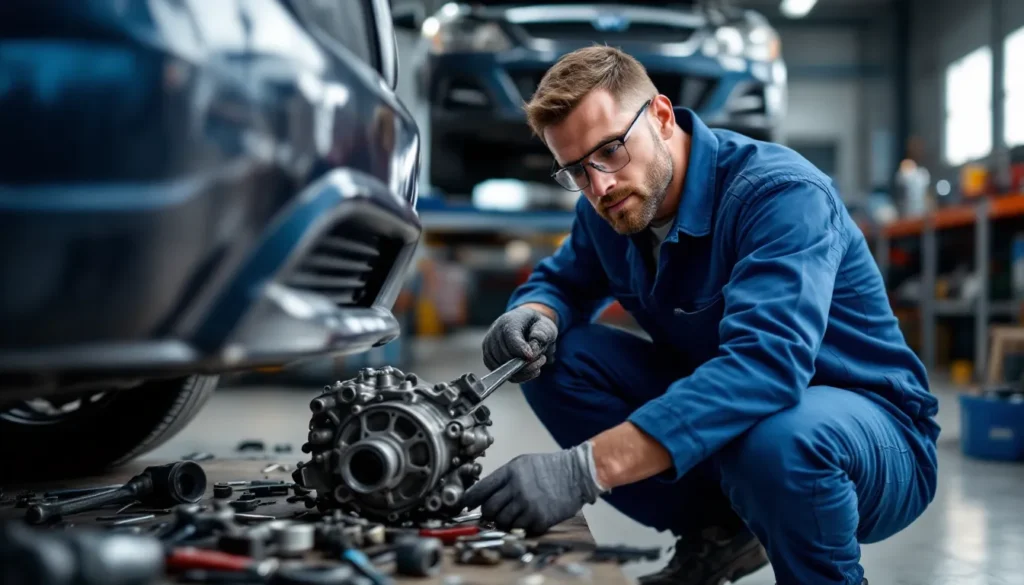
If you’re tackling a water pump replacement, knowing how to remove the old one is crucial. This task might seem daunting, but with the right steps, you can handle it like a pro. Whether you’re a seasoned DIYer or a first-timer, understanding the process will save you time and frustration.
Tools and Materials Needed
Knowing which tools and materials to gather simplifies the process of removing a water pump. Below are the essential tools and safety equipment you’ll need for the task.
Essential Tools
- Socket Set: A metric or standard socket set helps in loosening bolts securely attached to the water pump.
- Wrenches: Adjustable wrenches provide additional leverage when removing stubborn parts.
- Screwdrivers: Flathead and Phillips screwdrivers assist in removing any screws that might be holding the pump in place.
- Pliers: Needle-nose and regular pliers enable you to grip, twist, or pull components.
- Drain Pan: A drain pan catches antifreeze or coolant, preventing spills during removal.
- Gasket Scraper: A gasket scraper efficiently removes old gaskets from the mounting surface.
- Torque Wrench: A torque wrench ensures a precise tightening of bolts when reinstalling a new pump.
Safety Equipment
- Safety Glasses: Wearing safety glasses protects your eyes from debris and fluids.
- Gloves: Heavy-duty gloves guard your hands against sharp edges and hot surfaces.
- Fume Mask: If working in an enclosed space, a fume mask prevents inhalation of harmful vapors.
- Steel-Toed Boots: Steel-toed boots offer foot protection if heavy parts drop during the process.
Gathering these tools and safety equipment enhances your readiness to tackle the task of water pump removal effectively.
Step-by-Step Guide

To successfully remove a water pump, follow these organized steps. Each stage is vital for ensuring an efficient process.
Preparing the Vehicle
- Park the vehicle on a flat, stable surface.
- Turn off the engine and let it cool completely.
- Disconnect the battery by removing the negative cable.
- Place the drain pan under the radiator to catch coolant.
- Remove any obstructions, like engine covers or fan shrouds, for better access.
Removing the Belt
- Locate the serpentine belt and identify the tensioner.
- Use a wrench to relieve tension on the belt by turning the tensioner.
- Slip the belt off the water pump pulley.
- Inspect the belt for signs of wear or damage; replace if necessary.
Disconnecting the Water Pump
- Locate the water pump and identify the connected hoses and bolts.
- Loosen and remove the bolts securing the water pump using a socket set.
- Disconnect the hoses by loosening any clamps with pliers.
- Gently pull off the water pump, being cautious of residual coolant.
- Clean the mounting surface to prepare for the new pump installation.
Troubleshooting Common Issues
Addressing issues during water pump removal can streamline the process and ensure a successful outcome. Two common problems include stuck bolts and leaks after removal.
Stuck Bolts
Stuck bolts can hinder progress when removing a water pump. Use penetrating oil to help loosen them. Spray the oil on the bolt, then wait several minutes for it to penetrate. Tap the bolt gently with a hammer to create vibrations that break the bond. If the bolt remains stuck, apply more oil and try again. For extremely stubborn bolts, utilize heat from a propane torch to expand the metal and break the seal. Ensure you maintain safety precautions, including wearing gloves and safety glasses.
Leaks After Removal
Leaks after pump removal can indicate leftover coolant in the system or improper sealing during installation. To prevent leaks, ensure that the area is thoroughly cleaned before sealing the new pump. Examine the old gasket and replace it if it shows signs of wear. After installation, check the coolant system for proper sealing and watch for any leaks around the pump. If leaks continue, double-check bolt tightness and gasket placement, as this may resolve the issue.
Post-Removal Maintenance
Post-removal maintenance is crucial to ensure the long-term performance of your vehicle after changing the water pump. Engaging in proper maintenance prevents future issues and prepares your system for optimal functionality.
Inspecting Other Components
Inspect other components closely after removing the water pump.
- Check the thermostat for signs of wear, leakage, or corrosion. A faulty thermostat could lead to cooling system issues.
- Evaluate the hoses for cracking or soft spots. Damaged hoses may need replacement to prevent future leaks.
- Examine the radiator for any debris or blockages that could impede cooling efficiency. Clear any obstructions for optimal airflow.
- Review the water pump pulley for wear and ensure it spins freely. A damaged pulley could lead to new performance problems.
- Assess the coolant reservoir for any signs of contamination or damage. A clean reservoir maintains proper fluid levels and system function.
Cleaning the Area
Clean the area thoroughly after removing the water pump.
- Remove old gasket material from the mounting surface to ensure a proper seal for the new pump. Use a gasket scraper carefully to avoid damage.
- Flush the coolant system with recommended cleaning agents to eliminate debris and contaminants. This action prevents blockages and promotes effective cooling.
- Wipe down surrounding components with a lint-free cloth to remove any coolant spills or residue. Clean surfaces contribute to a smoother reassembly process.
- Inspect all seals and gaskets for wear or damage before installing the new pump. Replacing worn seals prevents future leaks.
- Dispose of old coolant and materials properly. Follow local regulations to ensure safe disposal.
Engaging in these maintenance steps enhances the overall efficiency and longevity of your vehicle’s cooling system.
Conclusion
Removing a water pump doesn’t have to be a daunting task. With the right tools and a clear step-by-step approach you can tackle this project confidently. Remember to prioritize safety by wearing appropriate gear and taking necessary precautions throughout the process.
After successfully removing the old pump take the time to inspect other components and clean the area thoroughly. This not only ensures a smooth installation of the new pump but also contributes to the overall health of your vehicle’s cooling system.
By being methodical and attentive you’ll set yourself up for long-term success and reliability in your vehicle’s performance. Happy DIYing!

Hi, I’m Md Rofiqul, a gardening enthusiast who loves spending time in the garden and backyard. I enjoy caring for plants, growing flowers and vegetables, and creating a green space that feels peaceful and refreshing. Gardening is more than just a hobby, it’s a passion that connects me to nature and brings joy to my daily life. Living with plants inspires me to embrace simplicity, patience, and sustainability while making every day more colorful and rewarding.
