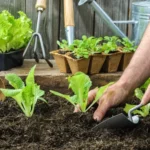
Starting your own garden bed is one of the most rewarding ways to grow fresh vegetables, flowers, or herbs right at home. But before planting, you need to prepare the soil properly by digging a garden bed. This essential step sets the foundation for healthy plants and a thriving garden.
Digging a garden bed might seem straightforward, but doing it right can make a big difference in soil quality and drainage. Whether you’re a beginner or looking to improve your technique, understanding the best tools and methods will save you time and effort. Let’s dive into how to dig a garden bed that supports strong roots and vibrant growth.
Preparing to Dig Your Garden Bed
Preparing to dig your garden bed involves selecting an ideal spot and assembling the right tools. These steps ensure efficient digging and a healthy growing environment.
Choosing the Right Location
Choose a garden bed location that receives at least 6 hours of direct sunlight daily for optimal plant growth. Select well-drained soil to avoid waterlogging and root rot. Avoid areas near large trees to reduce competition for nutrients and water. Consider accessibility for watering and maintenance to simplify ongoing care.
Gathering Necessary Tools and Materials
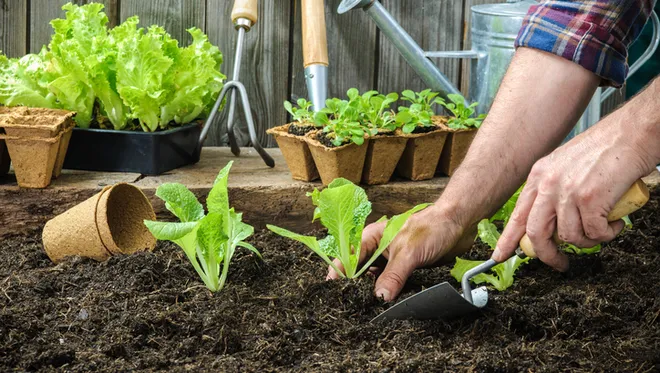
Gather tools like a sharp spade, garden fork, and hoe to simplify soil loosening and turning. Use sturdy gloves to protect your hands from blisters and sharp objects. Have a wheelbarrow ready to transport soil, compost, or debris. Obtain organic compost or soil amendments to enrich the garden bed after digging.
Steps to Dig a Garden Bed
Follow precise steps to dig a garden bed that enhances soil quality and promotes healthy plant growth. Each step prepares the ground for strong roots and vibrant plants.
Marking and Measuring the Area
Measure the garden bed to fit your space and plant requirements. Mark the perimeter using stakes and string or spray paint to create clear boundaries. Rectangular beds commonly range from 3 to 4 feet wide, allowing easy access without stepping on the soil. Adjust length based on available space.
Removing Grass and Vegetation
Cut or dig up grass and vegetation within the marked area. Use a sharp spade or sod cutter to remove grass in 2 to 4-inch thick layers. Dispose of clumps or transfer them to compost if weed-free. Clearing roots and organic matter prevents regrowth and creates a clean planting surface.
Loosening the Soil
Use a garden fork or spade to loosen soil to a depth of 8 to 12 inches. Insert the tool vertically and pry the soil upwards to break compacted layers. Loosening improves aeration, drainage, and root penetration. Avoid turning over the soil excessively if it contains earthworms or beneficial organisms.
Turning and Amending the Soil
Turn the loosened soil using the garden fork or spade, mixing in organic compost or soil amendments uniformly. Spread 2 to 3 inches of compost over the area then blend it thoroughly into the top 8 to 12 inches of soil. This enriches nutrients, improves texture, and boosts moisture retention for optimal plant growth.
Tips for Maintaining Your Garden Bed
Maintaining your garden bed ensures its long-term productivity and health. Proper care supports plant growth and soil vitality throughout the seasons.
Watering and Fertilizing
Water your garden bed deeply and consistently, targeting the root zone to promote strong root development. Use drip irrigation or soaker hoses to minimize water waste and reduce fungal diseases. Fertilize your garden bed with balanced organic fertilizers, applying nutrients like nitrogen, phosphorus, and potassium according to plant needs and soil test results. Incorporate compost or well-rotted manure every 4 to 6 weeks during the growing season to replenish soil nutrients naturally.
Preventing Soil Compaction
Avoid walking on your garden bed to reduce soil compaction, which restricts root growth and limits oxygen availability. Use designated pathways or stepping stones around the bed for access. Loosen compacted areas gently with a garden fork, but limit disturbance to preserve soil structure and beneficial microorganisms. Mulch the surface with organic materials such as straw or wood chips to protect the soil, improve water retention, and prevent compaction caused by rain impact.
Conclusion
Digging your garden bed sets the foundation for a thriving garden. Taking the time to prepare the soil properly ensures your plants get the nutrients and space they need to grow strong. With the right tools and techniques, you’ll create an environment that supports healthy roots and vibrant blooms or veggies.
Remember, a well-prepared garden bed makes maintenance easier and boosts your chances of a bountiful harvest. Keep caring for your bed with consistent watering, fertilizing, and mulching to enjoy gardening success season after season. Your efforts will pay off with a beautiful, productive garden you can be proud of.

Hi, I’m Md Rofiqul, a gardening enthusiast who loves spending time in the garden and backyard. I enjoy caring for plants, growing flowers and vegetables, and creating a green space that feels peaceful and refreshing. Gardening is more than just a hobby, it’s a passion that connects me to nature and brings joy to my daily life. Living with plants inspires me to embrace simplicity, patience, and sustainability while making every day more colorful and rewarding.