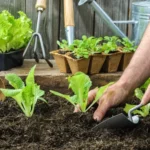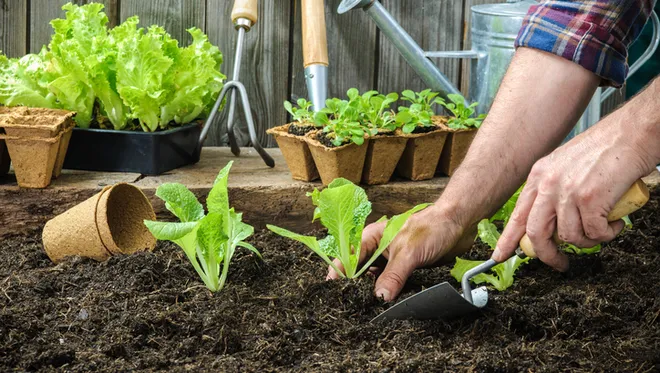
Creating your own garden sprinkler system might sound complicated but it’s actually a smart way to keep your lawn lush without spending a fortune. With a DIY setup you control where and when your garden gets watered, saving water and time. Plus, it’s a satisfying project that boosts your gardening skills.
Whether you have a small backyard or a sprawling garden you can customize a sprinkler system that fits your space perfectly. You don’t need fancy tools or professional help—just some basic materials and a bit of planning. Ready to make your garden thrive with a simple and efficient watering solution? Let’s dive into how you can build your own garden sprinkler system step by step.
Benefits of a Do It Yourself Garden Sprinkler System
Building your own garden sprinkler system offers several advantages. You control watering schedules, enabling precise irrigation tailored to your garden’s needs. This precision improves plant health and reduces water waste. You customize sprinkler locations, targeting specific plants or lawn areas, which saves water compared to conventional systems.
You save money by avoiding professional installation fees and opting for affordable materials like PVC pipes, garden hoses, and sprinkler heads. You can expand or modify your system easily as your garden grows, without relying on technicians. You also gain satisfaction from maintaining your garden efficiently using a system you designed and assembled.
DIY sprinkler systems adapt to various garden sizes and layouts. You select components that fit your space and water pressure, ensuring optimal performance. You enjoy reduced water bills by using timers and sensors that prevent overwatering and adjust to weather conditions. Last, you reduce environmental impact by conserving water and minimizing runoff.
Planning Your Garden Sprinkler System
Planning your garden sprinkler system ensures effective watering and water conservation. Detailed preparation optimizes coverage and minimizes waste.
Assessing Your Garden’s Watering Needs
Determine the total area of your garden using square feet or meters. Identify plant types—lawns, flower beds, shrubs—and group them by similar water requirements. Calculate daily water needs based on plant type and climate conditions. Note shaded areas that need less water and sunny spots requiring more. Check your water pressure and flow rate with a pressure gauge or local utility data. Understanding these factors helps choose appropriate sprinkler heads and spacing.
Designing the Layout for Efficient Coverage
Draft a scaled map of your garden including dimensions and plant groupings. Position sprinkler heads to ensure overlapping coverage and eliminate dry spots. Choose sprinkler types—rotary for large areas and spray heads for small zones or flower beds—based on watering needs. Plan main and lateral pipelines for minimal friction loss and easy access. Include shut-off valves for separate zones to customize watering schedules. Verify that piping routes avoid obstacles and comply with local regulations. Detailed design prevents overwatering and promotes uniform irrigation.
Choosing the Right Materials and Components
Choosing quality materials and components ensures your garden sprinkler system operates efficiently and lasts longer. Focus on selecting parts that match your garden size and watering requirements.
Selecting Sprinkler Heads and Pipes
Sprinkler heads vary by spray pattern and radius; opt for rotary heads covering large areas and fixed spray heads for smaller, precise zones. Use PVC pipes for durability and low friction loss, or garden hoses for flexible setups. Choose pipe diameters according to your water pressure and flow rate; for example, ¾-inch pipes handle moderate flow for medium gardens. Ensure sprinkler heads align with pipe fittings to avoid leaks and maintain uniform water distribution.
Tools You Will Need
Prepare tools for cutting pipes, connecting fittings, and installing sprinkler heads. Essential items include a pipe cutter or fine-toothed saw, adjustable wrench, Teflon tape for sealing joints, and a shovel for trenching. Use a drill with appropriate bits if mounting heads on hard surfaces. Investing in a pressure gauge helps test your system before full operation.
Step-by-Step Installation Guide
Follow these steps to install your DIY garden sprinkler system accurately and efficiently.
Preparing the Garden Area
Clear the garden area to remove debris and obstacles that interfere with installation. Mark sprinkler head locations based on your layout plan using stakes or spray paint. Dig trenches for pipes that run at least 6 inches deep to protect against damage and freezing. Ensure trenches follow the planned routes with gentle slopes for drainage if needed.
Assembling and Connecting the Sprinkler System
Cut PVC pipes or garden hoses to measured lengths using a pipe cutter. Connect pipes with appropriate fittings such as elbows, tees, and couplings, applying Teflon tape to threaded joints for leak prevention. Attach sprinkler heads to pipe outlets securely, adjusting their height to suit the plant types. Install control valves and timers at accessible points to regulate watering schedules. Connect the main supply line to your water source, ensuring all connections are tight.
Testing and Adjusting the Sprinklers
Turn on the water supply and activate the system to check for leaks or blockages. Observe spray patterns to confirm full coverage of the targeted garden areas. Adjust sprinkler head angles or positions for even watering and minimal overlap. Fine-tune timer settings to match your garden’s water requirements and avoid overwatering. Perform regular checks during the first few days to ensure optimal performance.
Maintenance Tips for Long-Lasting Performance
Inspect sprinkler heads regularly to remove dirt, debris, or mineral buildup that can clog nozzles and reduce water flow. Clean or replace damaged heads immediately to maintain even coverage throughout your garden.
Check all pipe connections for leaks or cracks. Tighten fittings if you spot drips or use waterproof sealant for stubborn leaks to prevent water waste and pressure loss.
Flush out the system seasonally by opening end caps and running water through the pipes to clear sediment or algae that impair performance. Do this especially before and after winter to avoid blockages.
Adjust sprinkler head positions after heavy rain or landscaping work to sustain optimal watering patterns and prevent overspray on sidewalks or driveways.
Winterize your system by draining all water and using compressed air if necessary to avoid pipe bursts caused by freezing temperatures. Store timers and valves indoors during cold months when not in use.
Monitor water pressure with a gauge regularly. Ideal operating pressure ranges between 30 to 50 psi for most residential sprinkler heads. Replace pressure regulators if the pressure exceeds or falls below this range.
Test timers and sensors frequently to verify they activate watering cycles accurately. Replace batteries in wireless controllers annually to ensure uninterrupted scheduling.
Maintain clear access around your sprinklers by trimming grass and planting low-growing vegetation. Obstructions affect spray patterns and reduce watering efficiency.
Record maintenance activities and note any performance changes to detect recurring issues early and keep your DIY system performing at peak efficiency.
Conclusion
Taking charge of your garden’s irrigation with a DIY sprinkler system gives you unmatched control and flexibility. You’ll not only save money but also create a tailored watering solution that fits your garden’s unique needs. With the right planning, materials, and maintenance, your system will keep your plants thriving while conserving water.
Embrace the satisfaction that comes from building and managing your own sprinkler setup. It’s a smart investment in your garden’s health and your peace of mind. Once installed, you’ll enjoy a greener lawn with less effort and more confidence in your watering routine.

Hi, I’m Md Rofiqul, a gardening enthusiast who loves spending time in the garden and backyard. I enjoy caring for plants, growing flowers and vegetables, and creating a green space that feels peaceful and refreshing. Gardening is more than just a hobby, it’s a passion that connects me to nature and brings joy to my daily life. Living with plants inspires me to embrace simplicity, patience, and sustainability while making every day more colorful and rewarding.